Airbrushing is a clever painting technique that was once most commonly used by mechanics to spray paint vehicles.
But recently, it has taken the art world by storm because it’s extremely versatile, and the colors are more vibrant.
In this beginners guide, you’ll learn about the equipment you’ll need to get started, step-by-step instructions for your first project, and some tips and tricks to ensure that your first airbrush project is successful.
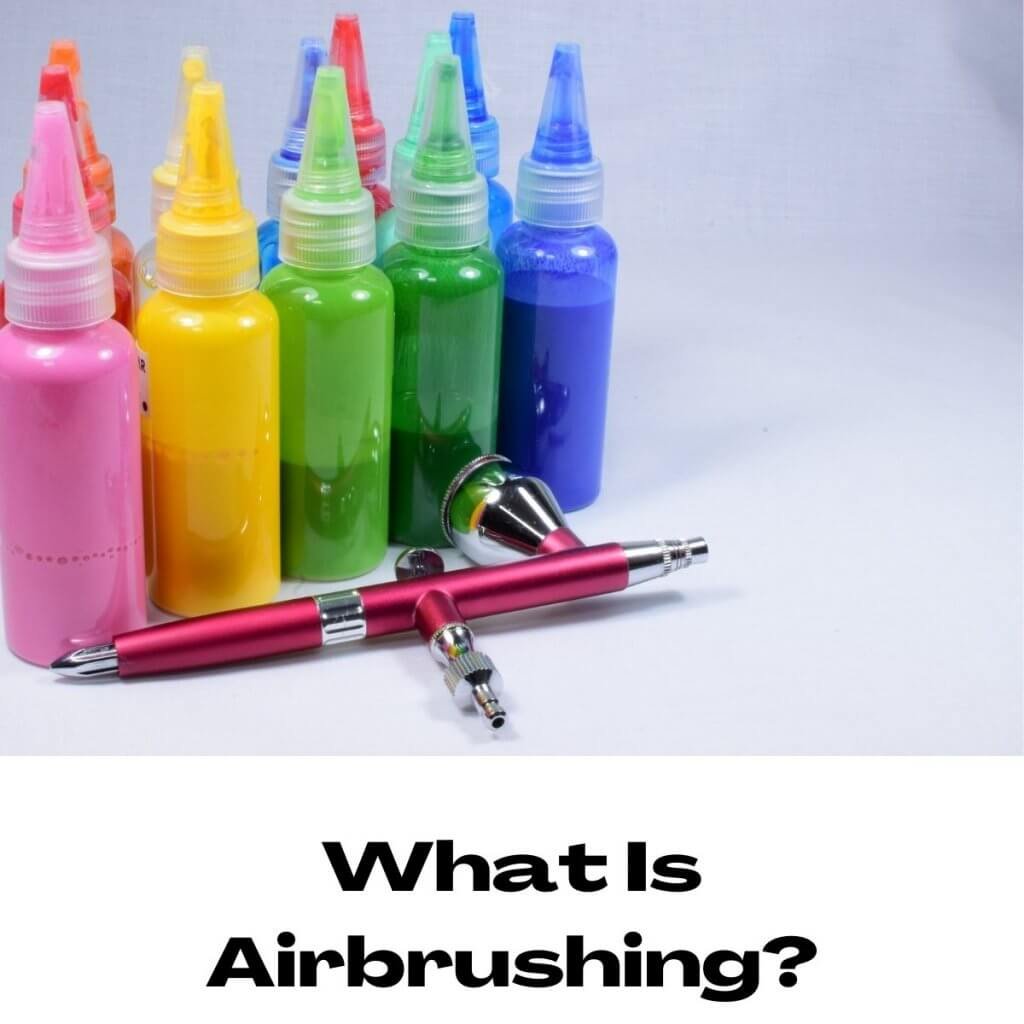
What Is Airbrushing?
History states that airbrushing has been around since the caveman era, but the technique was slightly different.
The cavemen would fill their mouths with paint to create pictures and forcefully blow it through a hollow object onto a stone wall.
Technology has since advanced; today, artists use a spray gun filled with paint attached to a compressor.
It sounds simple enough, but as you’ll soon read, there’s a lot more to airbrushing than spraying paint onto a surface.
Is airbrushing hard to learn?
Airbrushing is a skill that must be practiced, and if you’re willing to put the effort in, you’ll quickly get used to it. Like all things new, you’ll find it difficult initially, but it will become much easier with practice.
Is airbrushing easier than painting?
Both airbrushing and painting require a steady hand, so the answer to this question depends on the individual.
Some people will find painting easier, and some people will find airbrushing easier.
Nevertheless, airbrushing has become increasingly popular amongst artists. It may not be that airbrushing is easier than painting.
But it provides a different look that may be preferable to paint when creating certain designs.
Airbrush Setup For Beginners
Airbrushing will cost you a pretty penny because you’ll need to purchase a lot of equipment before getting started.
These include an Airbrush flow improver, an airbrush thinner, and an airbrush cleaner. Here is a list of the stuff you’ll need to buy.
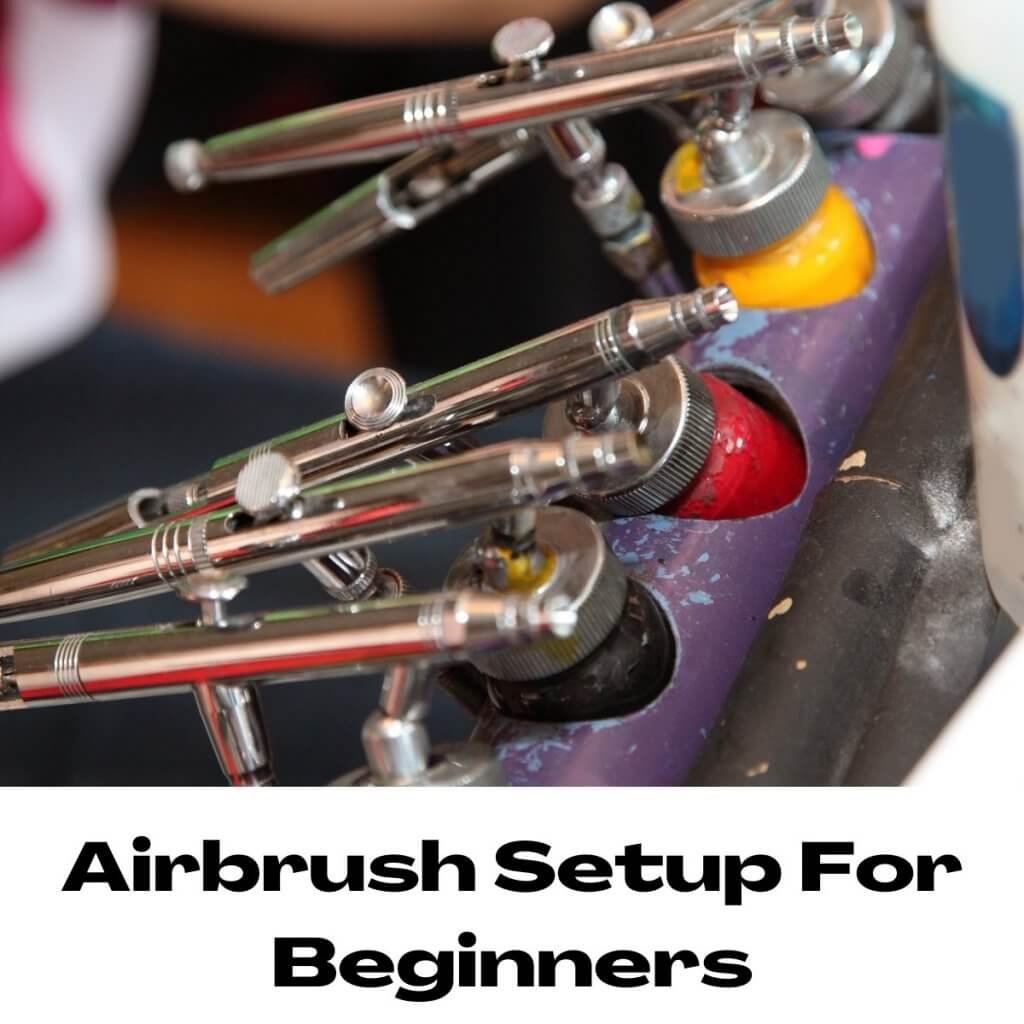
Airbrush flow improver, airbrush thinner, and airbrush cleaner
These are three very important liquids, and you won’t get very far without them, so put them at the top of your list, so you don’t forget.
Plastic Bowl With Nozzle and Water Bowl
You will need this bottle and bowl to remove the extra paint on your airbrush. Without these two pieces of equipment, you’d need to spray out the paint, so they’ll save you a lot of time.
Cleaning Tool For Nozzle
Do your research before purchasing a cleaning tool for your nozzle because it needs to be the right size.
If the tool is too big, it will ruin your nozzle. You should go to a specialist store to make your purchase so you can ask the professionals.
Cleaning Brushes
These will help you get deep inside your airbrush and clean it well.
Airbrush Holder and Spray Out Pot
You can get these combined as one, but you’ll need to search for them as they’re not widely available.
They are used to hold the airbrush while you work. Additionally, the pot will contain excess paint, so you don’t have too much mess to clean up.
Multi Way Valve Assembly
You may or may not need this depending on whether your airbrush has the same fit as the compressor. You will also need to ensure it has the right type of connection.
Air Hose
The air hose connects the compressor to the airbrush. Again, I wouldn’t advise making this purchase online as you’ll need expert advice because different airbrush models have different compressors, and if they don’t fit properly, they won’t work.
Paints
There are no special paint requirements for airbrushing because thinner and flow improver allows you to use any paint. So, when it comes to paint, the choice is yours.
Paint Holder
You don’t need anything fancy for a paint holder. If you’ve got an old cup lying around, that will do. Just apply a blob of Blu Tack to the underneath of the cup and get painting.
Masking Tape
As a beginner, masking tape will keep paint in place.
Apron
Airbrushing is messy, to protect your clothes, wear an apron. If you don’t want wear an apron, wear old clothes that you don’t mind ruining instead.
Mixing Tool and Mixing Cups
Mixing tools and mixing cups are used to mix the paint before you start airbrushing. Mixing the paint before using it keeps everything running smoothly through the equipment.
Round Brush, Medium Sized
Purchase a medium-sized round brush with long hair. The brush is used to get rid of extra paint from the top of the needle tip without taking apart the entire airbrush.
Spare Needles
Always have spare needles to hand because the airbrush needles break easily when you’re a beginner and getting the hang of using them.
Latex Gloves
Protect them with latex gloves to avoid using toxic chemicals to get paint off your hands. Also, airbrushing can dry out your skin, and gloves will prevent this.
Mask
Since you’re dealing with chemicals, get yourself a high-quality mask, so you’re not breathing in harmful fumes while working on your projects.
Perfect Hobby For You:
How To Find The Best Airbrush For Beginners?
If your work looks professional, you’ll need a good airbrush, but there are so many to choose from that it can confuse beginners.
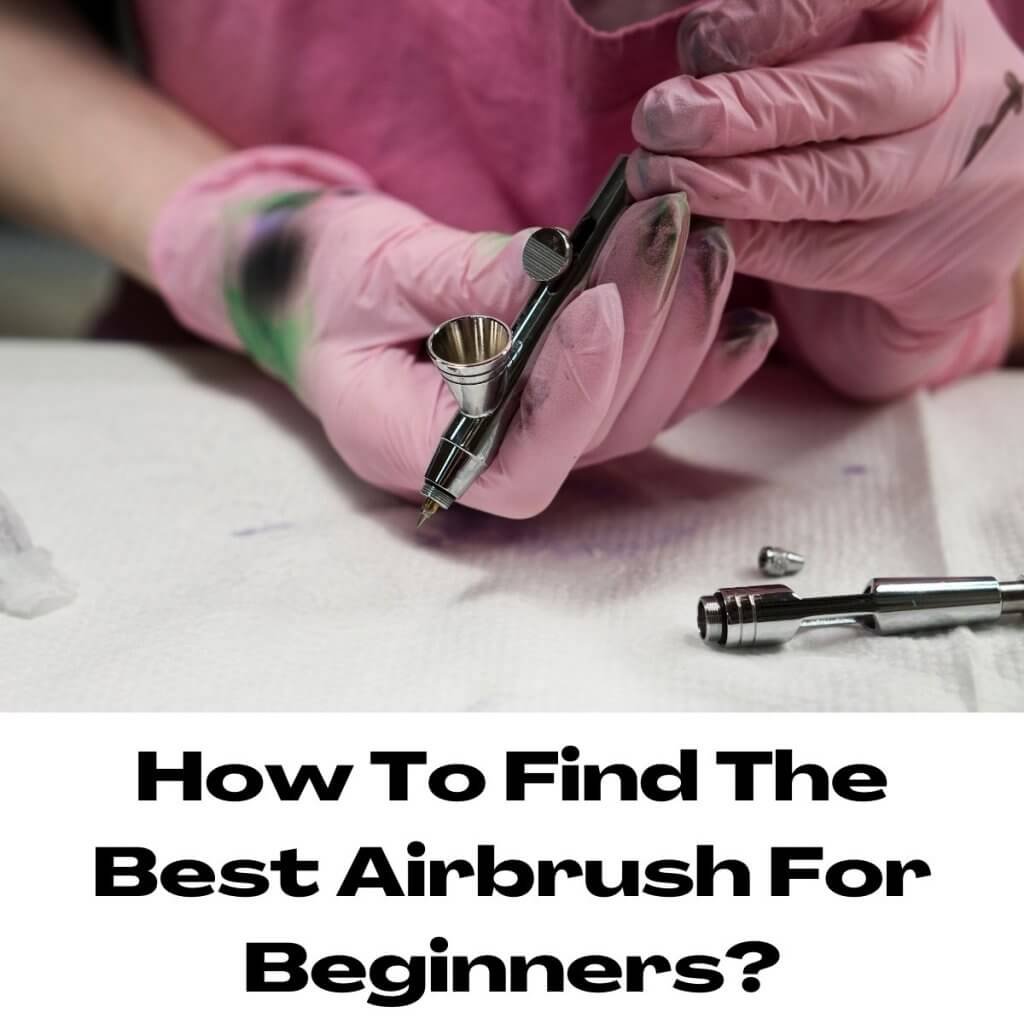
Nevertheless, without going into too much detail, you’ll need to purchase an airbrush from a reputable manufacturer such as Paasche, Iwata , or Badger.
Please avoid buying an airbrush second-hand from some random person online, or you may end up disappointed.
If you intend on using one airbrush for each color, don’t get a gravity feed, a siphon feed will work best. Also, it should be an internal mix, dual-action airbrush.
How To Use An Airbrush Gun For Beginners?
Using an airbrush will become a lot easier once you know how. Here are a few tips to get you started:
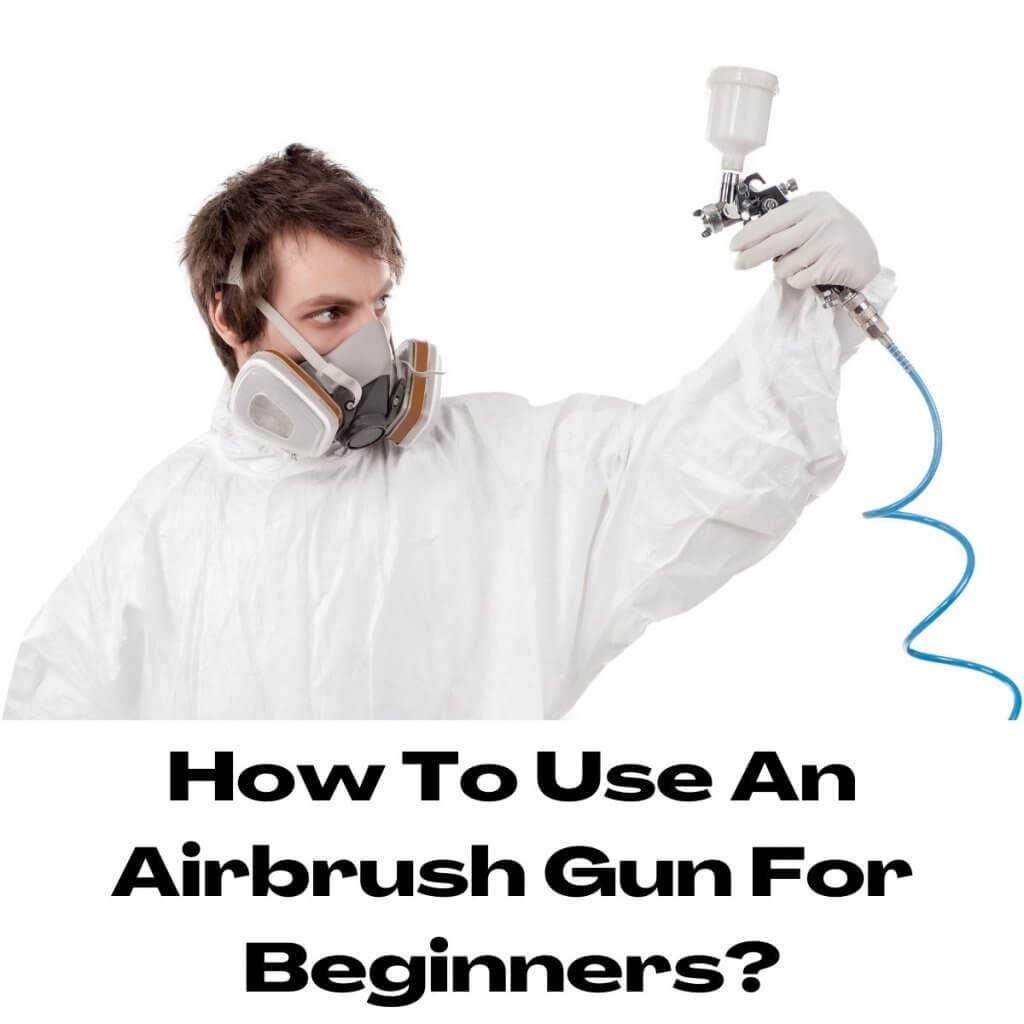
Step 1: Holding The Airbrush
Hold the airbrush with your writing hand in the same way you would a pen. Position your index finger so it’s resting on the trigger.
If the hose gets in the way, put it over your shoulder. Keep your hand relaxed, and don’t hold the airbrush too tightly.
Since you’re just starting, hold the airbrush upright to your painting surface.
Step 2: Pushing Down
The air should always be on while airbrushing, so you’ll need to make this a habit from the beginning.
Gently push down on the airbrush trigger. You won’t feel anything but air coming out.
Step 3: Paint Release
Push down and push back on the trigger simultaneously to release the paint. If you’ve purchased a double-action airbrush, you can apply more paint by pulling the trigger further back.
Step 4: Airbrush Distance
The further away from your surface you hold the airbrush, the more area is covered.
The closer you hold it, the less area is covered. How far you hold the airbrush will depend on what you’re trying to achieve.
If you want a more defined look, hold it closer. For a fuzzy look, hold the airbrush further away from the surface of your work.
Airbrush Painting Techniques For Beginners
There are several airbrush painting techniques to use, and these include dagger strokes, circular dots, and circular patterns. Here are five basic airbrush techniques for beginners.
#1 Dagger Strokes
For script writing, you will need to learn the dagger stroke. Start by creating a line, and then keep moving your hand up and down along the surface of your work.
#2 Circular Dots
The circular dot is the starting point for all airbrush projects. Create a dot by spraying paint on your work surface. You then continue spraying according to your chosen design.
#3 Circular Pattern
If you want a circular pattern, make sure you hold the airbrush verticle to the surface. Your hand needs to be totally straight because tilting it at an angle will create an oval shape. If that’s what you want, then fine, but it won’t work for a perfect circle.
#4 Hard Edges
You’ll need a piece of masking tape to create a hard edge. Stick the strip of masking tape onto the surface, spray right on the edge, lift the masking tape and fill in the gap.
#5 Straight Line
To form a straight line, start by spraying a dot on the surface and then moving your hand in the direction you want the line to go.
#6 Shadow and Light
Black and dark colors create shadows. If you don’t want much shade, make the color lighter by diluting it with water. Then, to create a light reflection, use white paint.
#7 Even Surface
Spraying an even surface sounds simple, but it’s not for beginners because if you spray the wrong area, it will stain, and you’ll need to start again. So, to ensure this doesn’t happen, spray in lines from the top left to the bottom right. Then, continue using this technique until you’ve sprayed the entire area.
#8 Stencils
You will find stencils for more or less anything you want to draw. Stencils are perfect for beginners because they create more defined lines if you want to create a particular shape.
However, if you really want to get creative but can’t find the shape you need, you can design stencils by doing the following:
Step 1
Start by gathering your equipment. You will need a pencil, a craft knife, masking film, foil, adhesive tape, and a cutting mat.
Step 2
You can either draw the design on foil or print the design off the internet.
Step 3
Lay the foil, or the printed design on the cutting mat, use the adhesive tape to stick it down, and cut out the template.
Airbrush Tutorial For Beginners
If you’re ready to get started with your first airbrush project, here is a step-by-step tutorial.
#1 Set Up Equipment
All the equipment you use will come with manufacturers’ instructions. To avoid mistakes, make sure you follow them.
But in general, you’ll need to connect the compressor to the spray gun and then insert the plug into the power supply. Mix the paint of your choice, and then pour it into the gun.
Don’t fill the container to the top to avoid dripping. Choose your nozzle according to the type of paint used.
For low pigment, use a fine nozzle. Don’t ignore this instruction, or you’ll clog your spray gun.
Some experts recommend diluting the paint because it looks better when sprayed. However, it’s a matter of opinion, and you can try it when practicing.
#2 Get A Feel For The Spray Gun
Before getting started on your final design:
- Get a feel for the spray gun.
- Use strong printer paper and spray triangles, circles, squares, large areas, and fine lines.
- Position the gun at different angles and farther away from the paper.
- Keep experimenting until you feel comfortable enough to create your final design.
#3 The Right Paper
You can use regular paper to practice different airbrush techniques, but for the final project, make sure you use airbrush paper. You’ll find this at any airbrush store.
#4 Sketch Your Design
Use a sharp pencil to draw your design, or sketch it with a template. Once you are happy with the design, you can then spray the area in your desired colors.
#5 Spray The Design
If you want sharp edges, add masking tape to the design. For a more blurred look, no masking tape is required.
Adjust the air using downward pressure, pull the back slightly to control the amount of paint used.
The spray paint will get stronger as you pull more. Once you’re done with one area, stop adding the paint and stop the airflow.
Doing this will prevent paint from splashing onto your work in the wrong places.
#6 More Masking Tape
Once you’ve applied the first layer of paint, you may feel that some areas of your design need another layer. If so, add more masking tape and respray the area.
#7 Adding Shadowing
If your design requires shadowing, add a light coating of black paint to the areas of your choice.
#8 Leave Your Design Out To Dry
Once you’ve completed your design, leave it out to dry. It typically takes 4-6 hours to dry completely.
Before framing your work or rolling it up to give it to someone as a gift, run your fingers over it lightly to ensure it’s fully dried.
19 Airbrush Tips And Tricks For Beginners
Your airbrushing experience will run a lot smoother by applying the following tips and tricks to your designs. Here are ten tips and tricks to get you started.
#1 Don’t Get Discouraged
To master the art of airbrushing takes practice and patience because it’s an intricate skill that needs developing.
No matter how good of an artist you are, your first piece of work might not look that great, but don’t let that stop you.
Evaluate your work to see where you went wrong, and try again. Do some more research to make sure you’re following the instructions properly.
Trying something new will always come with challenges, but you can overcome them if you’re determined.
#2 For Noise Sensitivity
Some compressors are loud, and the sound can put you off airbrushing if you’re sensitive to noise.
To get around this, get a compressor with an air tank attached. A compressor like this only needs to fill the tank once.
It’s still loud, but it fills the tank up quickly, and then the noise stops, which means the machine won’t be making noise while you’re working.
If you are extremely sensitive to noise, leave the room until the tank is full.
#3 Be Prepared
Whether you’re a seasoned artist or a novice, preparation is key to the success of your art project.
Creating should be a peaceful endeavor. You’re less likely to make mistakes when you’re not flustered.
Therefore, get everything in order before you start working so you’re not interrupting the process when you realize you don’t have what you need.
#4 Test First
Before spraying your final design, test the spray gun to make sure everything is in working order.
Check the paint for consistency, shade, and check that the gun is spraying correctly.
The paint should land flat on the surface. If there are lumps in the paint, it’s probably not thin enough.
#5 Paint Thinning
To make your paint less opaque, add thinner to it.
#6 Add The Thinner First
Regardless of the coloring product, you’re using, make sure you use the thinner first. This will create lubrication between the brush and the paint. It will also make the cleaning process easier.
#7 Double Action Gun
The lever of a double action gun should be fully pushed forwards when you’ve taken a pause from spraying.
If not, the gun might start leaking because the paint supply is not being interrupted correctly.
#8 Bent Needles
The needles for the spray gun are delicate. So while you’re working, keep checking that it’s not bent because you won’t be able to spray straight lines with a bent needle.
#9 Wear Fabric Gloves
Wear a pair of fabric gloves over your latex gloves. Fabric gloves ensure your surface is free from grease, allowing the ink to bind properly.
Even though you plan on wearing fabric gloves, start by thoroughly cleaning the surface.
#10 Clean Your Spray Gun Properly
Before starting your airbrushing job, make sure you’ve cleaned the spray gun properly. But while you’re working and you notice the gun isn’t spraying right, you may need to replace the needle or the nozzle.
Since the parts are quite small, the easiest way to conduct the inspection is with a magnifying glass or a microscope.
If you detect a problem, you’ll need to change the parts. Then, depending on your skill level, you might need to take the spray gun to a professional to ensure it’s fixed properly.
#11 Preventing Dark Spots and Color Clouds
Dark spots and color clouds are caused when the spray gun is moved back and forth over the same area or when you stop spraying.
To prevent this, move the spray gun over the painting surface at the same speed. Also, when turning the gun, ensure it’s done outside the object.
#12 Prevent A Grainy Texture
When the paint is too thick or the pressure is too low on the compressor, it causes a thick, grainy texture.
If you notice this problem, keep testing the paint consistency and the pressure until you’ve fixed the issue.
#13 Prevent Paint Splashes
To prevent paint splashes, ensure the air gun’s pressure is regular.
#14 Stick The Stencils Down
When using stencils, you must ensure they’re as close to the surface as possible.
The best way to achieve this is to glue them down. If not, the paint will run under the stencil, and you won’t achieve clearly defined edges.
#15 Quick Backwash
To clean the spray gun in between colors, use the backwash method. It’s quick and easy to do.
Use your finger to cover the end of the airbrush to prevent the release of air.
Be sure to push down hard and then press the trigger downwards to backwash the airgun.
#16 Add Some Lubrication
Keep the trigger smooth by applying lubrication to it after cleaning the spray gun. Leave it to dry properly, and then apply the lubricant.
#17 Use a Normal Brush
As wonderful as a spray gun is, it can’t do everything. If you want to add finer details to your design, use a regular paintbrush, you’ll save yourself a lot of time and frustration.
#18 Index Finger
You can’t use your thumb to pull the trigger, it must be your index finger. As a result, your thumb won’t provide the proper guidance, and you’ll make unnecessary mistakes.
#19 Brush Flushing
While creating your design, give your brush a flush every so often. Then, point your spray gun away from your work, press the trigger down, and pull it back as far as it will go.
This will help keep a smooth consistency to your work. If something doesn’t feel right with the gun, don’t pull it to pieces just yet, the problem might be due to paint buildup at the needle.
Check this first. If cleaning the excess paint doesn’t resolve the issue, take the spray gun apart.
Beginner Airbrush Projects
Once you’ve practiced on paper and you feel confident enough to take your airbrushing to the next level, there are plenty of things you can spruce up with an airbrush. Here are ten airbrush projects for beginners:
#1 Wooden Toys
Do you have any children? What about nieces and nephews? Start giving them presents they’ll cherish for a lifetime by airbrushing them with a special design.
#2 Customize Shoes
Instead of throwing out your old sneakers, make them look brand new by airbrushing them.
#3 Decorative Boxes
Whether you’re using boxes for decoration or storage, give your boxes a fancier look by airbrushing them.
#4 Personalized Coasters
Why not turn a bland-looking set of coasters into a fun and personalized set? Your loved ones will certainly appreciate them as a gift, or you can design them for yourself.
#5 Custom-Made Clothes
You can customize any item of clothing by airbrushing them. Whether it’s a plain white t-shirt, a hoodie, or a pair of jeans, turn your plain garments into head turners.
#6 Tote Bags
You can purchase plain tote bags and use airbrushing to customize them. Whatever design you want to add to the bag is up to you. If you’ve got a business, use airbrushes to brand the bags, or you can personalize them as gifts.
#7 Embellishing Beads
Whether using the beads to make jewelry or an arts and crafts project, add some finishing touches by decorating them with spray paint.
#8 Make Up
Airbrushing works well for costume make-up because it’s so pigmented. For Halloween or a theme night, get into the spirit of things by applying your make-up with an airbrush.
#9 Temporary Tattoos
Have you been thinking about becoming a tattoo artist? Airbrushing will give you some practice. As mentioned, using stencils will give you a sharper edge, but for a blurred look, opt for freehand.
#10 Nails
Once you learn how to airbrush with a steady hand, you can say good goodbye to the nail salon and save yourself some money.
By adding the nail varnish colors of your choice, you can airbrush your own nails.
Learning this skill is particularly handy when you get invited to a party at the last minute and need a quick make-over.
FAQ
Here are answers to the most commonly asked questions about airbrushing.
When should I clean my airbrush?
Airbrushes are not cheap, so most people have one and look after it as best they can.
To keep your spray gun in good condition, clean it after each use. Additionally, if you’re using multiple colors for your design and you’ve only got one spray gun, you’ll need to clean it after using each color.
Is there anything in particular I should be aware of concerning health and safety?
All your equipment will come with manufacturers instructions which will tell you everything you need to know about health and safety.
Read these instructions carefully; whatever they tell you to do, do it. But in general, it is advised that you don’t airbrush in an enclosed space, make sure there is enough ventilation available.
Wear protective clothing such as a mask, goggles, latex gloves, and an apron.
Don’t allow children to use a spray gun. Finally, toxic liquids and airbrush paints must be disposed of according to the laws in your state, do your research to make sure you are disposing of them correctly.
Does Soaking The Airbrush Damage It?
When you’ve just finished a piece of work, and you’re too tired to stand over the kitchen sink scrubbing, soaking your spray gun sounds ideal, but it’s not the best idea.
You can remove the removable parts and soak them, but don’t leave the gun submerged in water.
Soaking the gun will dissolve the airgun o-rings, and the dissolved paint will crystalize and stick to the spray gun, making it virtually impossible to clean.
Soaking prevents the gun from working as it should, removing the lubrication required to make the parts function properly. Additionally, most cleaning solutions contain ammonia, and when a brass material is soaked in it, it causes the surface to start turning greenish-black.
If you’re too tired to wash the spray gun, leave it on your work surface and come back to it the next day.
Where can I find more tutorials?
If you prefer video content, YouTube and Facebook will provide you with in-depth airbrushing tutorials. If you prefer to read about it, there are plenty of books on Amazon.
What type of paint can I use for airbrushing?
Any paint will do, the only requirement is that it’s thinned out enough to pass through the spray gun easily.
Airbrush paints you can use include alkyds, automotive finishes, enamels, oils, watercolors, and acrylics.
However, it’s important to mention that when using airbrush paints mixed with harsh chemicals such as cellulose, you will need to use a spray gun that doesn’t have a valve seat or rubber seals.
Therefore, you’ll need to read the ingredients on the paint before adding it to the spray gun.
Can I spray any surface?
You can spray any surface, that includes absorbent and non-absorbent surfaces. But when spraying non-absorbent surfaces, you need to use the right paint, so check with the paint manufacturer beforehand.
Final Thought
There is so much more to the awesome art form of airbrushing, but due to space constraints, I must end here.
Nevertheless, if you want some additional tutorials, there is a wealth of information available on YouTube.

