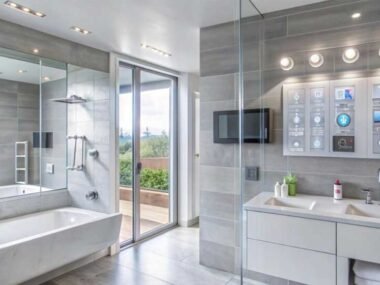
The standing seam systems have become a trusted choice for many commercial roofs due to their strength and clean profile. These metal panels lock together in a way that aids in sealing out moisture and supports long-term durability. Their setup requires care at each stage to keep the structure secure and stable.
1. Prep Steps Before the First Panel
Before work begins, a clear inspection of the roof deck helps with a smooth start. Many crews link quality results to professional standing seam installation, which sets the tone for accurate steps ahead. A firm base free of weak spots keeps the metal panels aligned once placed. Care at this stage may help improve the final fit.
Crews also gather precise measurements so every panel meets the right point on the deck. Accurate spacing prevents strain on fasteners in later phases. This careful setup gives the project a solid direction from the start. Each action supports a consistent layout across the entire surface.
2. Placement of Clips and Underlayment
A moisture barrier goes down once the deck has been checked and prepared. Crews anchor this layer with secure fasteners so it stays flat beneath the metal system. The barrier aids in limiting moisture from reaching the deck. Clips come next and serve as the link between the deck and panels. They hold each panel while still allowing controlled movement during hot or cold shifts. These clips must sit in straight rows so panel edges fit cleanly.
Why Clip Accuracy Matters
Each clip guides the panel that follows, so proper placement supports an even layout. Consistency across rows aids long-term strength. Straight lines help the seams rise neatly once locked. This accuracy supports a balanced finish.
3. Placement of the First Panel in Position
The first panel is the guide for the rest of the roof. Crews place it along a straight edge so the alignment stays true. A secure hold at the base prevents unwanted shift as work progresses. This step acts as the anchor for the entire project.
Once in place, the panel is locked into its clip line. Crews check each point to confirm firm attachment. The goal is a stable hold without excess force on the metal. A good start helps with a steady pace as the rest of the roof takes shape.
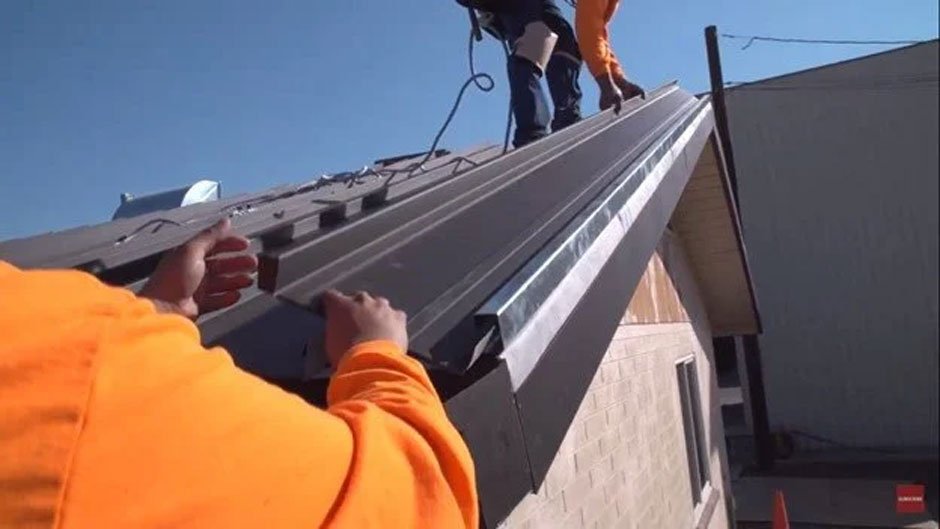
4. Seam Locks and Field Securing Steps
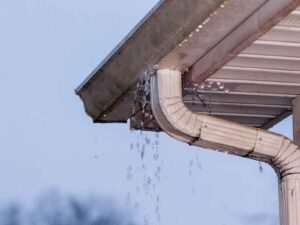
With the first panel set, workers place the next panel and raise its seam into the previous one. The metal folds together to form a vertical seam that resists water movement. This upward joint aids the roof in shedding moisture with ease. Each panel follows the same pattern to create continuous lines.
Under this subheading, here are key notes in bullet form:
- Vertical seams help direct water away
- Tight folds aid panel strength
- Clip support maintains alignment
- Steady progress keeps each row true
Once a full row is complete, workers step back to confirm symmetry. Any area that appears out of line is corrected before moving on. This steady review helps preserve quality. The goal is a roof surface that appears even from end to end.
5. Final Checks and Edge Treatment
Once the field is complete, attention shifts to trims and edges. These pieces seal the roof at corners and ridges to protect weak points. Their fit affects how well the system handles weather over time. Careful placement of each trim piece supports long-term performance.
The entire roof is then checked for uniformity. Crews look for gaps, loose fasteners, or misaligned seams. Small details can change the lifespan of the system. A thorough review helps close the project with confidence.
Commercial roofs gain steady support from proper metal panel setups, especially when crews follow steps linked to professional standing seam installation. Each phase from prep to the last seam plays a role in the roof’s final strength. Attention to detail may help improve durability for years ahead.