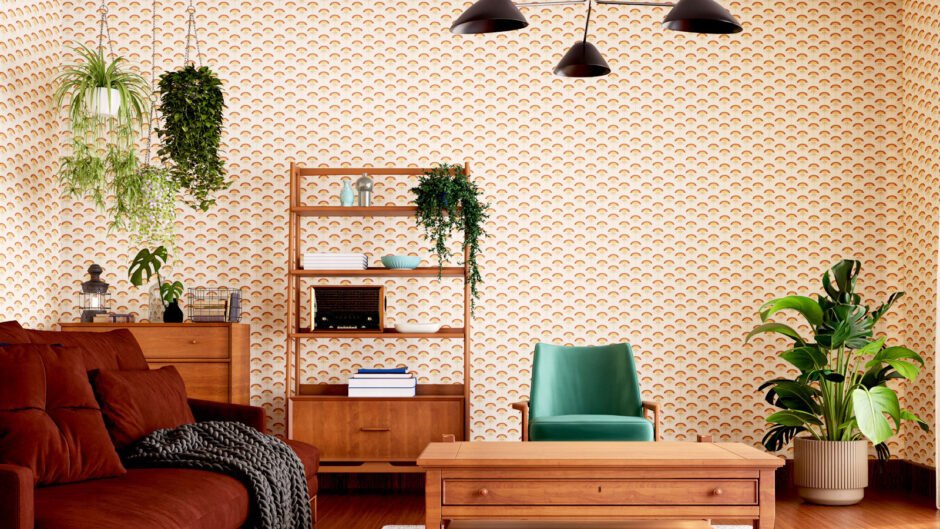
There’s a moment — maybe right after your third YouTube tutorial, or when you’ve unboxed that dreamy roll of wallpaper — where you think: How hard can this really be?
Cue: four crooked strips, a gluey floor, and one existential crisis later, you’re Googling “wallpaper installer near me” with a tear in your eye.
We’ve all been there. Wallpapering looks easy until you’re knee-deep in paste, fighting with a floral pattern that refuses to line up.
So yes — the smartest thing you can do is hire a professional. Seriously. No drama, no bubbles, no peeling regrets.
But if you’re set on the DIY route (and we love your courage), here are five tricks to make it just a little less painful — and a lot more successful.
1. Prep Like You’re Hosting Wallpaper Royalty
Imagine your wall is about to walk the red carpet. Would you let it show up with scratches, dust, or leftover glue from 2009? Of course not.
Clean it. Sand it. Patch the cracks. Prime it if needed. Your wallpaper deserves a five-star surface.
Because here’s the truth: even the most stunning wallpaper will look like a wrinkled shirt if your wall is uneven or dirty. And once it’s up, there’s no hiding it.
Pros know this — that’s why every wallpaper installer spends most of their time before the first panel goes up.
2. Tools Are Everything (Yes, That Includes a Seam Roller)
A butter knife is not a smoothing tool. And your credit card isn’t going to cut it (literally or figuratively).
Invest in a few basics:
- Sharp utility knife
- Level
- Wallpaper brush or plastic smoother
- Seam roller
- Sponge and bucket
- Wallpaper paste (unless it’s pre-pasted)
These tools aren’t just nice-to-haves — they’re the difference between “Wow, you did that?” and “Oh… you did that.”
3. Measure Like Your Life Depends On It
We get it. You’ve got a good eye. You can feel the right spot. But wallpaper doesn’t care about your intuition.
The “Eyeballing It” Method Is a Trap
Use a measuring tape. Mark your vertical guide with a level. Check twice, then check again. And please — buy extra rolls. Pattern repeats are sneaky little devils, and your math will never be as precise as your installer’s spreadsheet.
Let’s put it this way: a seasoned wallpaper installer could wallpaper your entire house blindfolded. You’re not there yet. So measure.
4. Paste Like You’re Icing a Cake for Royalty
Think smooth, even, generous — not slathered like toddler finger paint. Whether you’re pasting the wall or the paper, the goal is full coverage without chaos.
Even Coverage = No Surprises
Too little paste = peeling edges. Too much = lumps and drips. Spread it evenly, especially at the edges. And if your wallpaper instructions say “let it rest” (aka booking), don’t skip it. Let it settle like a croissant in Paris.
5. Start from the Center, Not the Corner
Here’s where most DIYers mess up. Starting at the edge feels natural — but it’s a trap. You’ll end up with mismatched patterns in all the wrong places.
Begin in the center of your focal wall and work outward. That way, any wonky trimming happens in the corners, not behind your TV or in your Instagram photo backdrop.
Even your friendly wallpaper installer will nod approvingly at that move.
Bottom Line?
DIY wallpapering is a bold move. It can be beautiful. It can also be chaotic.
But with good prep, the right tools, and a little know-how, you might just pull it off — and feel like a total legend.
Still, if you find yourself covered in glue, staring at a roll like it betrayed you… you know who to call.
Pro tip: A local wallpaper installer can do in two hours what might take you two weekends and a bottle of wine.


