Hey everyone!
I had to share this with you because I’m still shocked at how my bathroom turned out. You know that feeling when you’ve been staring at the same boring builder-grade bathroom for YEARS, and you finally decide to do something about it? Well, that was me three months ago, armed with Pinterest screenshots and way too much confidence.
Here’s the thing, though: I learned some important lessons along the way about what DIY projects are doable (spoiler alert: painting your vanity = amazing; moving plumbing lines = disaster waiting to happen).
How It All Started: One Thrift Store Find Changes Everything
It began innocently enough at a local antique shop. I spotted this gorgeous, weathered wooden ladder for $25 and immediately envisioned it as a towel rack. If you love creative DIY projects and tutorials like I do, you’ll understand that moment when one small find sparks a whole room transformation! But then my brain started spinning with all the other possibilities. What if I painted my boring oak vanity? What about floating shelves? Before I knew it, I had a whole Pinterest board and grand plans.
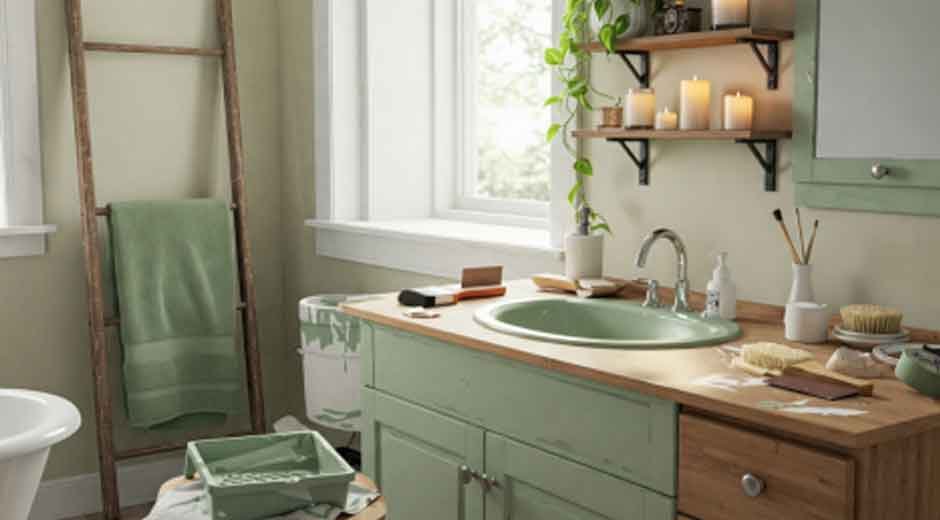
The vision was clear: a spa-like retreat with handmade touches, painted vanity in the most beautiful sage green, and creative storage that looked more like art pieces than bathroom organization. I was SO ready to make this happen.
Reality Check #1: When Your Dreams Meet Your Plumbing
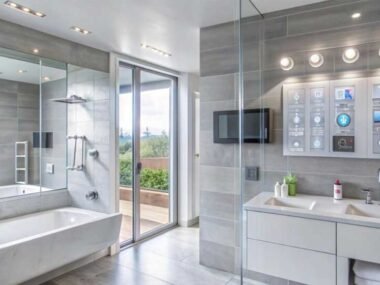
Here’s where I learned my first big lesson (and saved myself from a potential disaster). My original plan involved this gorgeous floating vanity I’d seen online. I had picked out the perfect piece, chosen my paint color, everything. However, when I began measuring and planning the installation, I realized that my “simple” upgrade would require relocating water lines.
That’s when I called in a professional for a consultation. It was the best $150 I ever spent! While I could transform the look and feel of my space with creative projects, anything involving moving plumbing required expert help. The good news? There were TONS of creative projects I could tackle myself that would make just as big an impact.
The Projects That Worked: My DIY Wins
Let me tell you about the transformations that made me feel like a total rockstar:
Painting My Vanity: The Game-Changer
This was the most rewarding part of my whole project! I went with Sherwin Williams Emerald Urethane Trim Enamel in “Retreat” – a gorgeous sage green that completely transformed the space. But let me be real with you about the process:
What it actually took:
- Weekend 1: Removing hardware, sanding, cleaning (way more cleaning than I expected!)
- Weekend 2: Priming and first coat of paint
- Weekend 3: Second coat and reassembly
My biggest lessons learned:
- TSP cleaner is your friend, but wear gloves and open windows
- Don’t skip the primer, even though it’s tempting (I almost did)
- High-quality brushes make ALL the difference – I went back and bought better ones after day one
- Oil-based paint takes FOREVER to dry (like seriously, plan accordingly)
Total cost: About $85, including paint, primer, new brushes, and sandpaper
The transformation was incredible! My boring oak vanity now looks like a custom piece that belongs in a boutique hotel. For more budget-friendly home makeover ideas, this kind of project proves you don’t need to spend thousands to get stunning results!
Creative Storage That Functions
The vintage ladder magic: That $25 thrift store find became the star of my bathroom. I sanded it down and applied a light-weathered finish. Now, it holds towels like a piece of art, and everyone who visits asks where I bought it.
Floating shelves done right: I learned the hard way that you HAVE to hit the studs. My first attempt with drywall anchors lasted exactly three weeks before everything came crashing down at 6 AM (not a fun wake-up call). Round two with proper wall anchors into studs? Rock solid.
Mason jar organizers: I attached mason jars under my shelves to hold cotton swabs, hair ties, and small items. It’s a total Pinterest moment that works!
The Struggles Were Real: What I Wish I’d Known
Can we talk about the reality of DIY for a minute? Because Instagram makes everything look so easy, but here’s what happened:
Week 1: Overconfident and excited, started three projects at once
Week 2: Realized I was in over my head, bathroom unusable for four days
Week 3: Called professionals for the plumbing consultation (best decision ever)
Week 4: Focused on one project at a time, actually started enjoying the process
My biggest “oops” moments:
- I forgot to remove the cabinet doors before painting (hello, paint drips)
- I didn’t tape properly and got sage green on my white walls
- Underestimated drying time and tried to rush the second coat
When to DIY vs. When to Call the Pros: What I Learned
After going through this whole process, here’s my honest take on what’s realistic to tackle yourself:
Green Light (Go for it!):
- Painting vanities and cabinets (just allow more time than you think)
- Installing floating shelves (with proper anchors!)
- Adding mirrors, artwork, and decorative elements
- Creative storage solutions and organization
Yellow Light (Research first):
- Replacing faucets (if everything lines up – mine didn’t)
- Installing new light fixtures (depending on electrical complexity)
- Toilet replacement (easier than I thought, but intimidating)
Red Light (Call the experts):
- Moving any water or gas lines
- Major electrical work
- Anything requiring permits
- Complex plumbing installations
A professional bathroom plumbing consultation enhanced my creative projects rather than limiting them. When the technical aspects were handled correctly, I could focus on the fun and innovative elements.
The Final Results: Better Than Pinterest
Three months later, my bathroom feels like a completely different space. The sage green vanity is the perfect focal point; my creative storage solutions work (and look good!), and everything functions perfectly.
Total transformation cost: Under $400 (including the professional consultation)
Time invested: About 6 weekends (working around my regular schedule)
Satisfaction level: Through the roof!
According to The Spruce, painted vanities are one of the most cost-effective bathroom updates, and I can see why. The impact is incredible for the investment.
My Top Tips for Anyone Considering This Project
Be realistic about timing: Everything takes longer than YouTube tutorials suggest. Plan for double the time.
Invest in quality supplies: Good paint, brushes, and hardware make a DIY project look professional.
Know when to get help: There’s zero shame in calling professionals for complex work. It freed me up to focus on the creative aspects I loved!
Take progress photos: You’ll be amazed at the transformation, and it’s so motivating when you hit rough patches.
Join online communities: The DIY community is incredibly supportive. Don’t be afraid to ask questions! Finding creative inspiration and connecting with fellow makers has been such a game-changer for my DIY confidence.
What’s Next for My Creative Journey
I’m already plotting my next project (maybe the guest bathroom?), but I’m approaching it with more wisdom. I now know my strengths; I have a better understanding of when to call in help, and most importantly, I’ve learned to enjoy the process instead of just rushing toward the finished result.
If you’re sitting there staring at your builder-grade bathroom and dreaming of change, I say go for it! Start with one project, plan for it to take longer than expected, and don’t hesitate to seek professional guidance for the technical aspects.
When I combined my creative vision with the right professional support from experienced bathroom renovation plumbers for the technical aspects, everything fell into place beautifully. The most stunning spaces truly emerge from blending creative passion with practical wisdom.
What creative bathroom project are you dreaming about? I’d love to hear what’s inspiring you!
This post shares my real experience as a DIY enthusiast learning to balance big dreams with practical execution. When you’re ready to tackle your bathroom transformation, remember that the most beautiful results come from knowing when to DIY and when to call in professional help. For any technical plumbing needs during your creative projects, having bathroom renovation plumbing experts on your team makes all the difference between a Pinterest-worthy result and a DIY disaster!